Book Categories:
Sewing Machine Maintenance
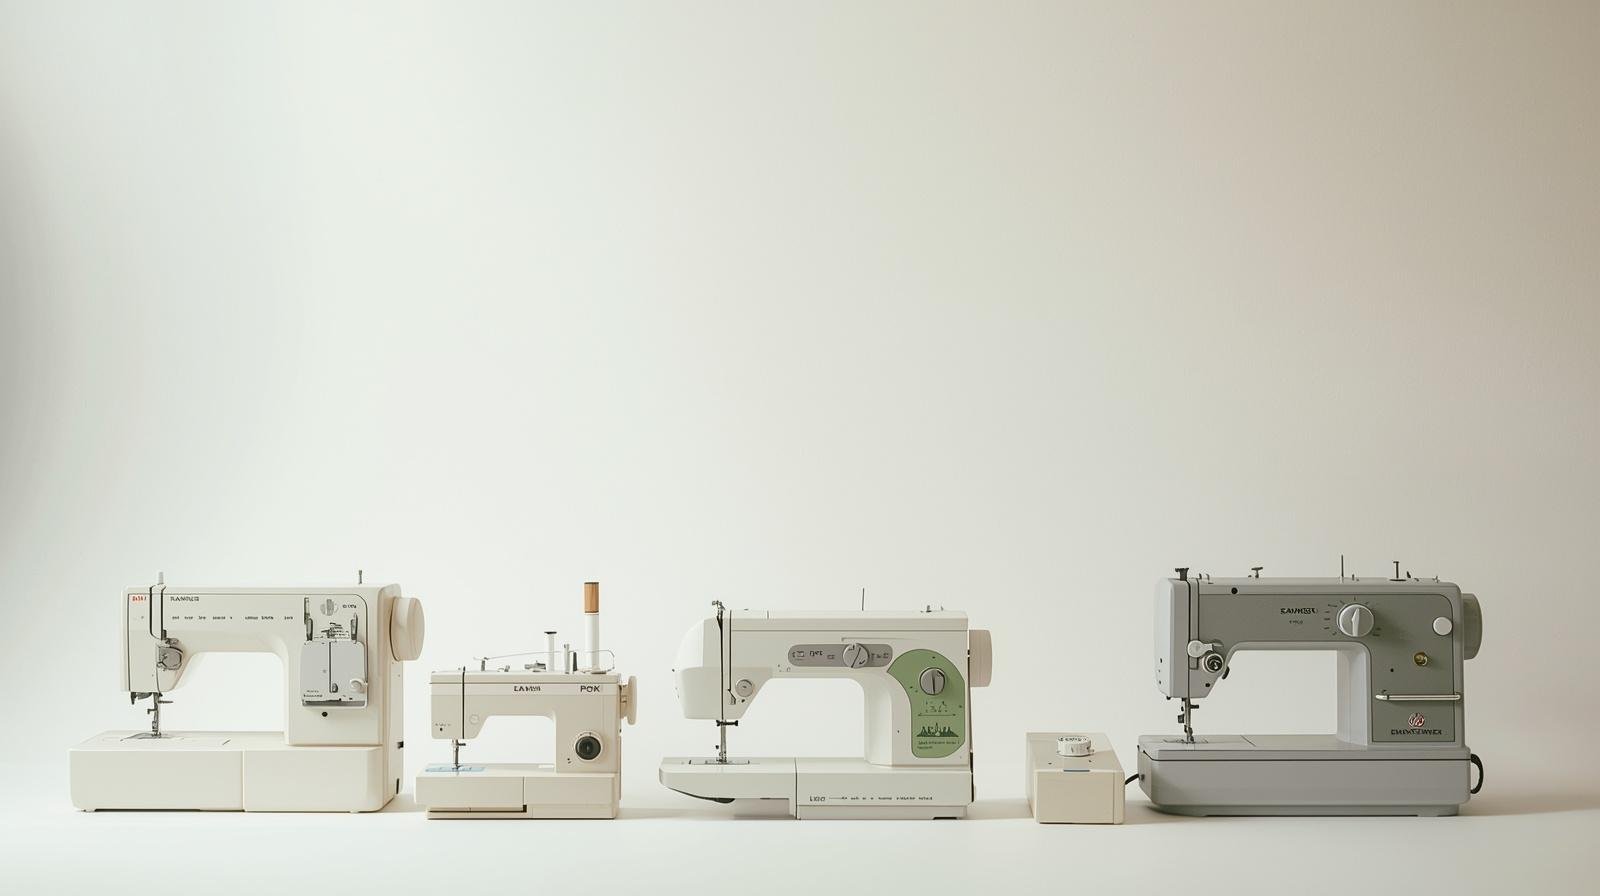
Sewing Machine Bobbin Problems: Complete Troubleshooting Guide
Share:
Book Categories:

The bobbin is the second most common failure point I see in my shop. The needle gets the blame, but the bobbin causes just as many problems — especially when the symptom looks like a tension issue.
A Class 15 metal bobbin fits most home machines made by Singer, Brother, and Janome. The wrong bobbin type causes tension problems that mimic expensive mechanical failures. Here is a quick checklist:
| Bobbin Problem | What Really Causes It | Time to Fix |
|---|---|---|
| Thread nests underneath | Threaded with foot down | 30 seconds |
| Bobbin thread pulls out too easily | Bobbin tension too loose | 2 minutes |
| Machine stops winding | Bobbin winder tire hardened | 10 minutes |
| Uneven stitch on the bottom | Wrong bobbin type | 1 minute |
| Lint in the hook race | Not cleaning regularly | 5 minutes |
The bobbin system has three parts that work together. Understanding each part helps you diagnose faster.
| Part | Function | Common Issue |
|---|---|---|
| Bobbin | Holds the lower thread | Wrong type for the machine |
| Bobbin case | Holds the bobbin and provides tension | Lint buildup, bent tension spring |
| Bobbin winder | Winds thread onto the bobbin | Hardened rubber tire |
The most common bobbin type is Class 15. It uses a metal or plastic spool 20.4mm in diameter at the top and 12.0mm at the bottom. A metal Class 15 bobbin costs about $3 for a pack of 10 and is the best choice for consistent tension. Plastic bobbins work but can warp under pressure.
Thread nesting under the fabric — a clump of thread on the bottom — is the single most common bobbin-related complaint. See the sewing machine bobbin problems guide for detailed fixes.
I tell customers: if your machine makes a nest under the fabric, nine times out of ten you threaded it with the presser foot down. Raise the presser foot. Rethread the upper path. Lower the foot. Test. The nest disappears.
Here is the 30-second fix you should try before doing anything else:
| Nest Appearance | Cause | Fix |
|---|---|---|
| Loose loops, thread visible | Threaded with foot down | Rethread with foot raised |
| Tight nest, hard to remove | Bobbin inserted wrong direction | Check direction — counterclockwise for drop-in systems |
| Nest plus noise | Lint wrapped around bobbin case | Clean the bobbin case and hook area |
Bobbin tension should be checked only after you have ruled out upper tension issues. On drop-in bobbin systems, the factory setting is usually correct and does not need adjustment.
Mark the screw position with a marker before turning it. A 1/8 turn clockwise tightens the tension. A 1/8 turn counterclockwise loosens it.
Tension Screw Position
A full turn in either direction will likely ruin the bobbin case. Mark the starting position before making any adjustments. A replacement bobbin case costs $8 to $15 depending on the brand.
| Test | Result | Action |
|---|---|---|
| Hold the bobbin by the thread tail. The bobbin should drop slowly. | Correct tension | Do not adjust |
| Bobbin drops freely and keeps unwinding | Too loose | Tighten 1/8 turn |
| Bobbin does not drop at all | Too tight | Loosen 1/8 turn |
| Thread breaks when pulling | Too tight or damaged case | Loosen or replace bobbin case |
Our bobbin tension adjustment guide covers each machine brand's specific tension setting.
Different machines use different bobbin systems. They are not interchangeable.
| Feature | Drop-In | Front-Loading |
|---|---|---|
| Bobbin placement | Horizontal, under needle plate | Vertical, in a swing-out case |
| Tension adjustment | Fixed spring (self-adjusting) | Adjustable screw on the case |
| Common brands | Singer, Brother, Janome | Older Singers, industrial machines |
| Ease of use | Easier for beginners | More consistent tension for experts |
| Cleaning | Harder — lint falls below | Easier — visible hook race |
Our bobbin case guide covers both systems in detail.
A stuck bobbin winder is one of the most common repairs in my shop. The rubber tire hardens over time and stops gripping the handwheel.
| Winder Symptom | Cause | Fix |
|---|---|---|
| Winder does not spin | Rubber tire hardened | Replace the tire — about $5 |
| Winder spins but bobbin does not fill | Tire slips on the handwheel | Clean the tire with alcohol |
| Bobbin fills unevenly | Winder arm tension wrong | Adjust the small screw on the arm |
| Thread wraps around bobbin winder shaft | Thread path wrong | Check the thread guide position |
Our bobbin winder repair guide has step-by-step instructions with photos.
I recommend cleaning the bobbin area every 8 hours of sewing time. This prevents 90% of lint-related problems.
Cleaning Frequency
Lint accumulates in the bobbin case and hook race. A buildup of lint causes tension problems, noise, and eventual jamming. Use a small brush — not compressed air, which pushes lint deeper.
| Sewing Frequency | How Often to Clean | What to Do |
|---|---|---|
| Daily sewer (4+ hours/week) | Every 2–3 days | Remove the needle plate, brush the bobbin case and hook race |
| Weekly sewer (1–3 hours/week) | Once a week | Same as above |
| Monthly sewer | Before each project | Visual check, clean if visible lint |
Use a brush designed for sewing machines, not a toothbrush. A seam ripper can also be used to remove stubborn lint from the tension spring area. Avoid compressed air — it pushes lint into the motor bearings.
| Item | Purpose | Price |
|---|---|---|
| Class 15 metal bobbins (pack of 10) | Replace worn or wrong bobbins | $3 |
| Bobbin winder tire (pack of 5) | Replace hardened tires | $5 |
| Small sewing machine brush | Clean lint from bobbin area | $3 |
| Curved 8-inch hemostats | Remove thread nests without scratching | $6 |
| Bobbin case (universal fit) | Replacement if original is damaged | $10 |
—
**Here's my take:** If you're hearing this sound or seeing this issue, don't panic. 90% of the time it's not a major repair — just a quick adjustment or cleaning. Let me walk you through exactly what to check first.
Sewing Machine Bobbin Winder Not Spinning: Diagnosis and Fix
Wrong Bobbin Type: Class 15 vs 15J vs 66, How to Identify
Bobbin Case Inserted Wrong Direction: How to Tell and Fix
Sewing Machine Tension Spring: Function, Cleaning, and Repla